Planning your lighting before interior work begins can make a major difference to how your home looks, feels and functions. A beautiful interior can lose its impact when lights are positioned incorrectly, electrical points are missed, or the wrong fixtures are selected after the ceiling and furniture layout are already finalised.
A well-planned home lighting plan considers the room layout, furniture, ceiling design, electrical points, natural light, fixture sizes, colour temperature, beam angles, switching and the activities performed in each space.
The most important rule is simple: plan the lighting around the interior, not the interior around the lighting.
Whether you are building a new home, renovating an apartment or working with an interior designer, lighting should be discussed before electrical and false-ceiling work begins. This gives you more freedom to position lights correctly and reduces the chance of expensive changes later.
Why should lighting be planned before interior work begins?
Lighting should be planned before interior work because the position of lights affects electrical wiring, ceiling cut-outs, false ceilings, furniture placement, wall panels, cabinets and decorative features.
If you wait until the interior is almost complete, you may have limited options. A ceiling point may already be fixed in the wrong location, a wall light may have no electrical provision, or a spotlight may shine directly into a person's eyes.
Planning early allows you to decide:
- Where each light should be installed
- Which areas need ambient lighting
- Where task lighting is required
- Which walls or objects need accent lighting
- Where decorative fixtures should be positioned
- Which lights need separate switches
- Where dimmers may be useful
- Where concealed LED lighting should be provided
- How lighting should coordinate with furniture and ceiling design
A good lighting plan therefore becomes part of the interior design process rather than an afterthought.
What should you check before creating a home lighting plan?
Before choosing any light fixture, collect the basic information about the room.
1. Measure the room
Record the length, width and ceiling height. These measurements help determine the appropriate scale and distribution of fixtures.
2. Mark the furniture
Furniture changes where light is actually needed. Mark the positions of sofas, beds, dining tables, desks, kitchen counters, cabinets and reading areas.
3. Identify natural light
Note the windows, balcony doors and other sources of daylight. Rooms with strong natural light may require a different artificial lighting strategy from darker rooms.
4. Identify architectural features
Mark feature walls, wall panels, niches, artwork, shelves, false ceilings, columns and other elements that could benefit from accent or architectural lighting.
5. Check existing electrical points
Identify existing ceiling points, wall-light points, switchboards and power outlets. Decide which points should remain and which need to be changed.
This information creates the foundation for your home lighting plan.
What are the main layers of home lighting?
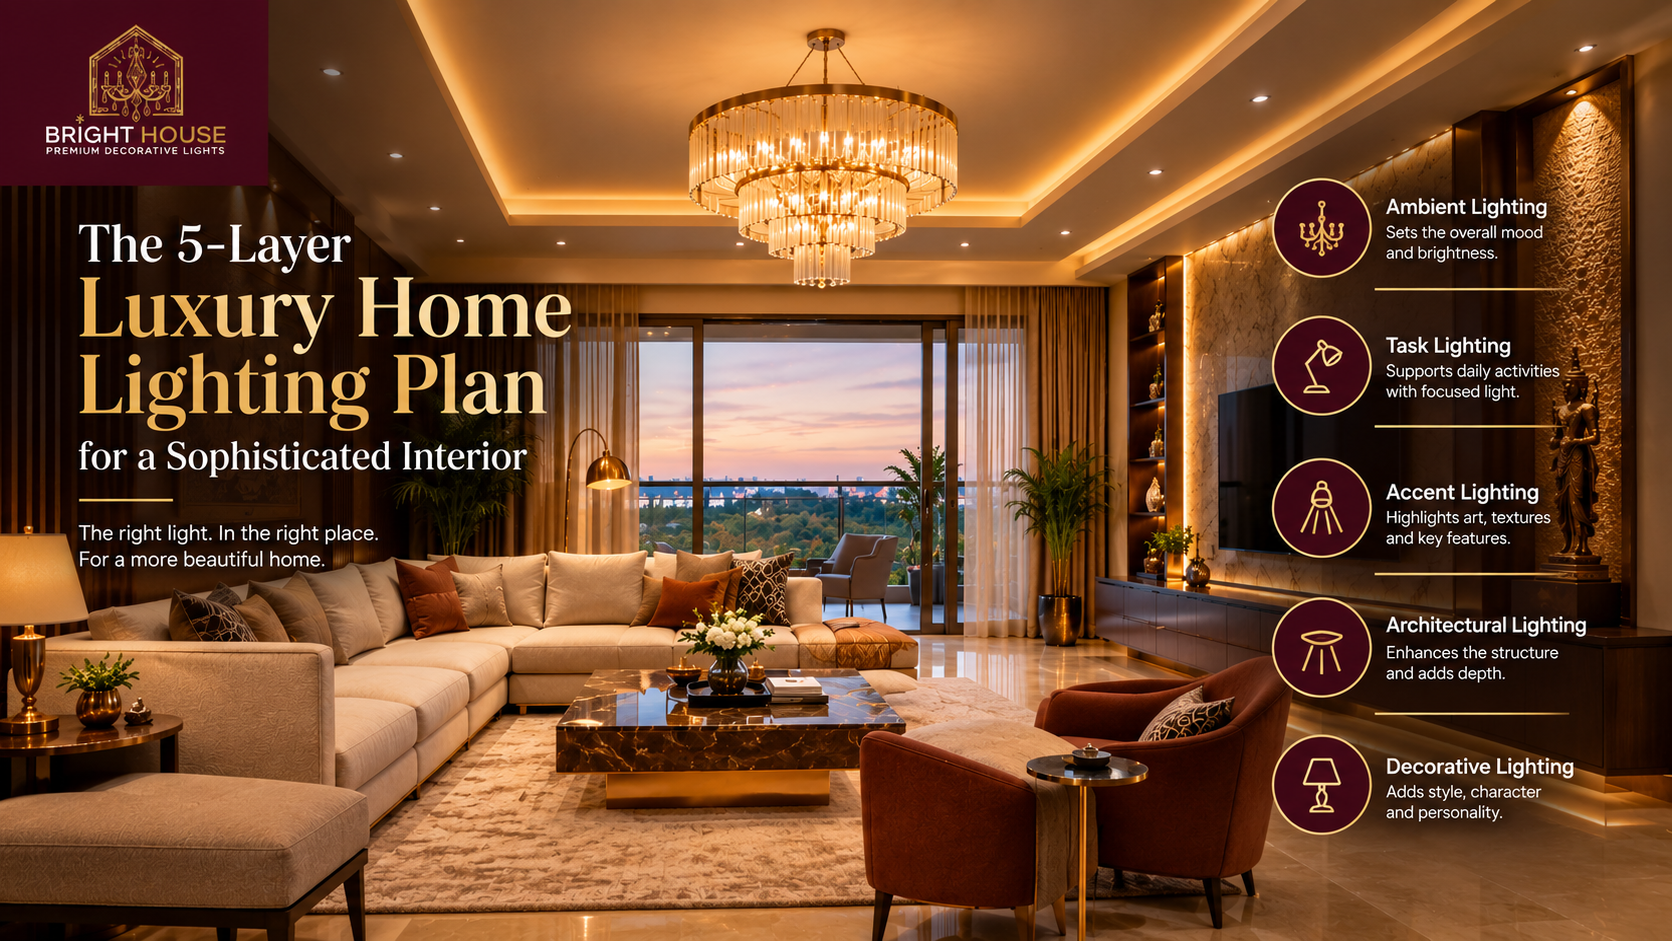
A practical lighting plan normally combines different layers instead of expecting one fixture to illuminate the entire room.
| Lighting layer | Purpose | Common fixtures |
|---|---|---|
| Ambient | General illumination | Downlights, chandeliers, pendants |
| Task | Focused illumination | Table lamps, reading lights, under-cabinet lights |
| Accent | Highlighting features | Spotlights, picture lights, wall lights |
| Architectural | Enhancing the structure | Cove lights, profile lights, concealed LEDs |
| Decorative | Adding visual character | Chandeliers, pendants, sconces, lamps |
Layered lighting creates flexibility. You can use brighter ambient lighting when cleaning or working and reduce it in the evening while using decorative and accent lighting.
Bright House's room-by-room layered lighting guide explains how ambient, task and accent lighting can work together across different areas of a home.
How should you plan lighting room by room?
Every room has a different purpose, so the lighting should not be identical throughout the home.
Living room
The living room usually needs a combination of ambient, decorative and accent lighting.
A practical arrangement could include:
- A chandelier or pendant as a visual centre
- Recessed or surface-mounted lights for general illumination
- Wall lights for vertical surfaces
- Accent spotlights for artwork or feature walls
- Floor or table lamps near seating
- Concealed lighting around selected architectural features
Avoid filling the ceiling with too many downlights. A balanced arrangement usually looks more sophisticated and creates better visual depth.
For additional inspiration, see Bright House's guide to living room lighting ideas for Indian homes.
Bedroom
Bedroom lighting should be comfortable and flexible rather than excessively bright.
Consider:
- Soft ambient ceiling lighting
- Bedside lamps
- Reading lights
- Wardrobe or cabinet lighting
- Headboard lighting
- Cove or concealed lighting
- Separate switching for bedside and main lights
Bedside lighting is particularly important because it allows you to avoid switching on a bright central fixture when you only need a small amount of light.
Dining room
The dining table should normally be treated as a lighting zone.
A pendant or chandelier above the table can create a strong focal point while providing useful illumination.
Before fixing the electrical point, confirm:
- Dining table dimensions
- Table shape
- Number of seats
- Ceiling height
- Fixture dimensions
- Desired hanging height
- Relationship with nearby furniture
The light should visually relate to the table instead of being positioned simply at the geometric centre of the room.
Kitchen
Kitchen lighting should prioritise visibility and practical work areas.
Use a combination of:
- General ceiling lighting
- Under-cabinet lighting
- Countertop task lighting
- Cabinet or shelf lighting
- Pendant lighting where appropriate
A common mistake is placing a bright ceiling light directly behind the person working at the counter. This can create shadows exactly where good visibility is required.
Home office
A home office needs comfortable ambient illumination combined with focused task lighting.
Consider the relationship between:
- Desk
- Computer screen
- Windows
- Desk lamp
- Ceiling light
- Storage
- Camera position for video calls
Avoid placing a strong light directly behind or in front of a monitor if it creates distracting reflections.
Foyer and entrance
The entrance is often the first area visitors see, so lighting can establish the character of the entire home.
A foyer may use:
- Ceiling lighting for general visibility
- Wall lights around a console
- Accent lighting for artwork or mirrors
- Decorative pendant or chandelier lighting
- Concealed lighting for architectural details
The fixture should be appropriately scaled to the entrance rather than selected only because it looks attractive in a showroom.
How do you decide where to place ceiling lights?
Ceiling lights should be positioned according to the furniture and activity zones rather than using an automatic grid.
Before finalising positions, mark:
- Sofa and seating areas
- Dining table
- Bed
- Kitchen worktop
- Study desk
- Passageways
- Artwork
- Feature walls
- Cabinets
- Decorative objects
For example, a spotlight positioned directly above the centre of an empty floor may provide little value if the important feature is actually a textured wall several feet away.
Adjustable fixtures can provide more flexibility where the exact furniture arrangement may change.
Why is furniture placement important for lighting design?
Furniture placement determines where people sit, work, eat, read and move.
If furniture is positioned after the lighting plan has been completed, several problems can occur. A spotlight may shine behind a sofa, a pendant may not align with the dining table, or a reading area may remain poorly illuminated.
The better sequence is:
Furniture layout → lighting zones → electrical points → ceiling design → fixture selection → installation
This sequence gives lighting a functional purpose rather than treating fixtures as decorative objects added at the end.
How should you plan electrical points for lighting?
Electrical planning should happen before false-ceiling and wall-finishing work begins.
Create a lighting point schedule that records:
| Area | Light type | Location | Switch/control | Notes |
|---|---|---|---|---|
| Living room | Pendant | Centre zone | Separate switch | Check ceiling height |
| Sofa area | Floor lamp | Side table | Socket | Reading use |
| Feature wall | Spotlight | Ceiling/wall zone | Separate circuit | Adjustable |
| Bedroom | Bedside light | Both sides | Individual switches | Easy access |
| Kitchen | Under-cabinet | Worktop | Separate switch | Task lighting |
| Dining | Pendant | Above table | Dimmer if compatible | Confirm table size |
This simple schedule can help your electrician, interior designer and lighting supplier work from the same information.
Should all lights be connected to one switch?
No. Connecting every light to one switch reduces flexibility.
Different lighting layers should ideally have separate controls where practical.
For example, a living room might have:
- Main ambient lighting
- Cove lighting
- Wall lights
- Feature-wall spotlights
- Decorative pendant
- Floor or table lamp
If all of these operate together, the room may become unnecessarily bright. Separate circuits allow you to create different lighting scenes for different activities.
Why should you plan dimmers before installation?
Dimmers can make a lighting system considerably more flexible, but compatibility needs to be considered before installation.
The fixture, LED driver and dimming system must be compatible. Not every LED fixture can be used with every dimmer.
Dimming can be useful for:
- Living rooms
- Dining areas
- Bedrooms
- Decorative lighting
- Entertainment areas
- Hospitality-style interiors
A room can therefore have brighter lighting when required and softer illumination when you want a more relaxed atmosphere.
How do you choose the right colour temperature?
Colour temperature describes the visual warmth or coolness of light and is measured in Kelvin.
As a practical starting point:
| Area | Common starting range |
|---|---|
| Living room | 2700K to 3000K |
| Bedroom | 2700K to 3000K |
| Dining room | 2700K to 3000K |
| Foyer | 2700K to 3000K |
| Kitchen task areas | 3000K to 4000K |
| Home office | Around 3000K to 4000K |
| Utility areas | Around 3500K to 4000K |
These are starting points rather than universal rules. Your wall colours, flooring, furniture finishes, natural light and personal preference should also be considered.
Why should you consider CRI when selecting lights?
CRI, or Colour Rendering Index, describes how accurately a light source reveals colours compared with a reference source.
This becomes important when your interior contains:
- Wood
- Marble
- Natural stone
- Artwork
- Fabric
- Decorative finishes
- Plants
- Colourful furniture
A higher-quality light source can help these materials appear more natural.
How do you plan accent lighting for an interior?
Accent lighting should have a specific visual purpose.
Instead of illuminating every wall equally, decide which elements deserve attention.
Good candidates include:
- Artwork
- Textured walls
- Marble
- Decorative niches
- Sculptures
- Plants
- Bookcases
- Feature walls
- Architectural columns
- Display cabinets
Adjustable spotlights and suitable beam angles can help direct attention to these features.
The goal is not maximum brightness. The goal is visual hierarchy.
If everything is equally bright, nothing becomes a focal point.
What should you consider before choosing decorative lights?
Decorative fixtures should be selected after understanding the room rather than before the lighting layout.
Check:
- Room dimensions
- Ceiling height
- Furniture size
- Dining table dimensions
- Wall finishes
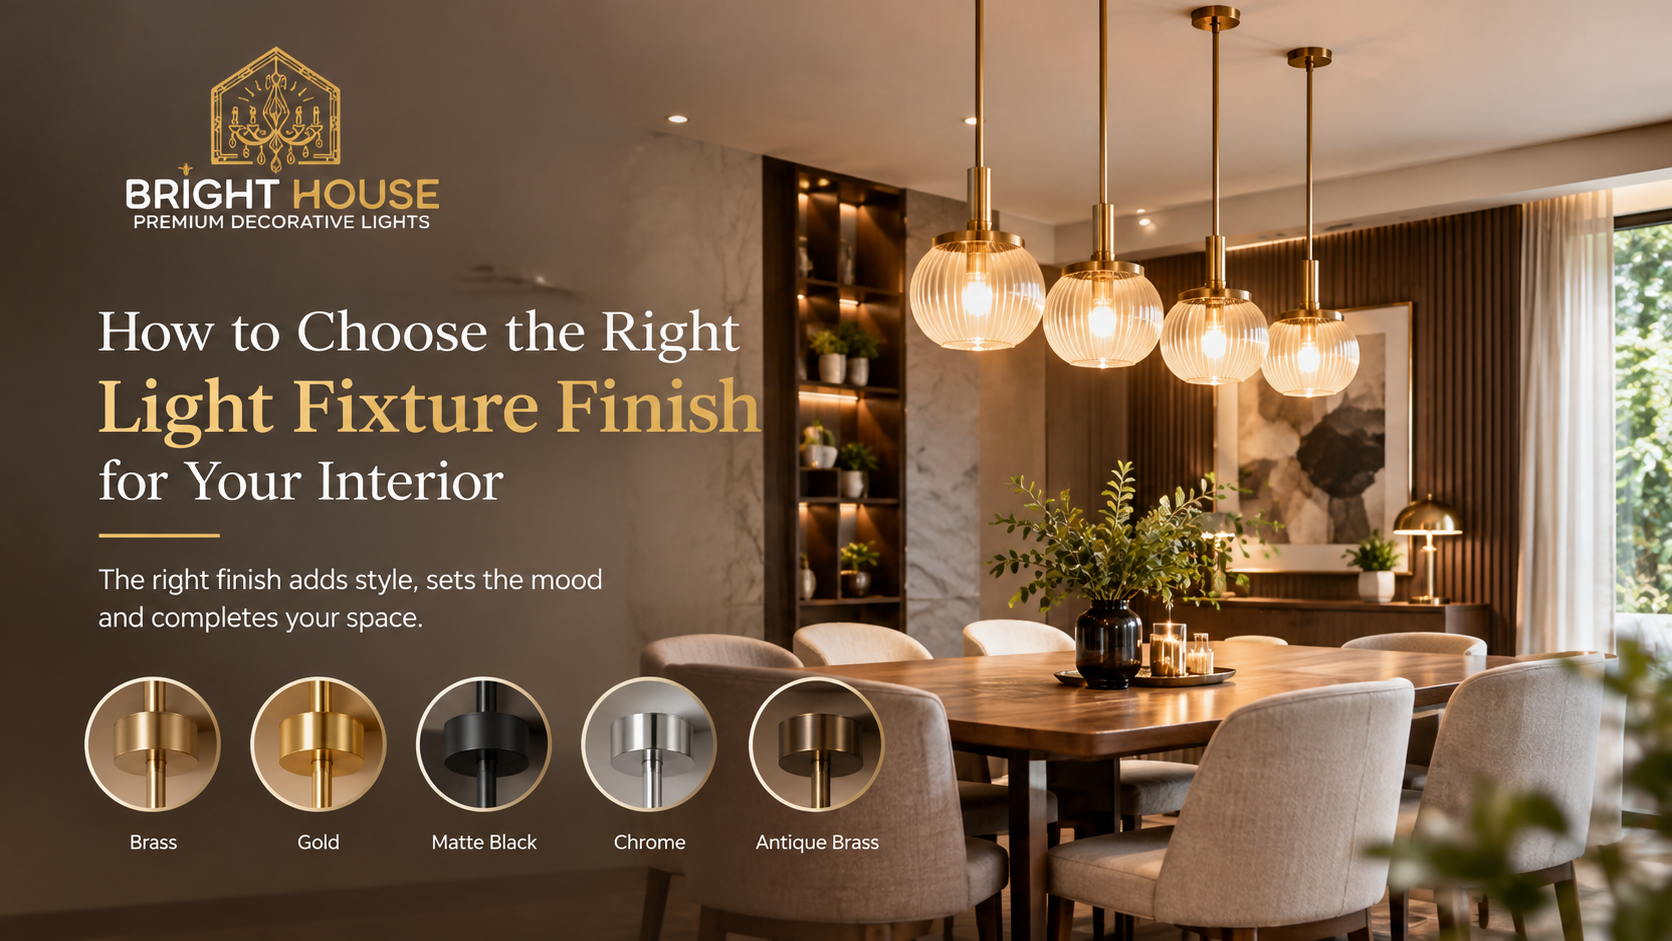
- Metal finishes
- Existing decorative elements
- Fixture diameter
- Fixture height
- Colour temperature
- Maintenance requirements
A large chandelier can look impressive in a double-height space but overwhelming in a compact bedroom.
The right fixture is not necessarily the largest or most expensive one. It is the one that has the correct relationship with the room.
What lighting mistakes should you avoid before interior work begins?
Avoiding common mistakes can save both money and time.
1. Choosing fixtures before planning the room
A fixture may look attractive but still be unsuitable for the space.
2. Using too many downlights
Excessive downlights can create glare and make the ceiling look crowded.
3. Ignoring furniture placement
Lights can end up in visually or functionally useless positions.
4. Mixing colour temperatures randomly
Different colour temperatures within the same visual zone can make the interior feel inconsistent.
5. Forgetting wall lighting
Ceiling-only lighting can leave walls and corners visually dark.
6. Ignoring the ceiling fan
Fans, chandeliers, pendants and spotlights should be planned together.
7. Forgetting switching requirements
If everything is connected to one switch, you lose control over individual lighting layers.
8. Choosing lights only by wattage
Wattage tells you about electrical power consumption. For LED lighting, also consider lumens, colour temperature, CRI, beam angle and fixture efficiency.
9. Forgetting future maintenance
Make sure concealed lights, drivers and fixtures can be accessed when maintenance is required.
What is the best lighting planning sequence for a new interior?
A simple sequence can make the entire process easier.
Step 1: Measure the space
Record room dimensions and ceiling height.
Step 2: Finalise the furniture layout
Mark all major furniture and activity zones.
Step 3: Identify lighting requirements
Decide where ambient, task, accent, architectural and decorative lighting will be required.
Step 4: Mark electrical points
Plan ceiling points, wall points, switches, sockets, dimmers and concealed LED provisions.
Step 5: Coordinate with the ceiling design
Make sure downlights, profiles, cove lighting, fans and decorative fixtures work together.
Step 6: Select fixture types
Choose the appropriate fixture category for each lighting function.
Step 7: Confirm technical specifications
Check lumens, wattage, CRI, colour temperature, beam angle, IP rating where applicable and dimming compatibility.
Step 8: Confirm fixture dimensions
Compare the fixture with the room, ceiling and furniture dimensions.
Step 9: Plan separate circuits
Separate important lighting layers so they can be controlled independently.
Step 10: Test before final installation
Where possible, check glare, beam direction, shadows, colour appearance and overall illumination before completing the interior.
What is a simple home lighting plan checklist?
Use this checklist before your interior electrical work is finalised:
-
Room dimensions measured
-
Ceiling height confirmed
-
Furniture layout finalised
-
Natural light considered
-
Ambient lighting planned
-
Task lighting planned
-
Accent lighting planned
-
Decorative fixtures identified
-
Ceiling fan positions checked
-
Electrical points marked
-
Switch locations confirmed
-
Dimmers considered
-
Colour temperature selected
-
CRI checked
-
Beam angles checked
-
Fixture dimensions confirmed
-
Maintenance access considered
-
Separate circuits planned
-
Final positions reviewed before installation
Can Bright House help with lighting selection for an interior project?
Yes. Bright House offers lighting solutions across categories such as chandeliers, pendant lights, wall lights, table lamps and floor lamps, along with lighting options for residential and architectural applications.
The Bright House website also provides a lighting collection and project-oriented categories that can help when comparing fixture styles and applications.
The important thing is to start with your space and lighting requirements rather than selecting fixtures randomly. Once the layout is clear, the right fixture, finish, size and lighting layer become much easier to determine.
Final Thoughts
A successful interior lighting design begins long before the first light fixture is installed.
The best approach is to understand the room, furniture, activities, architecture and desired atmosphere first. Then create lighting layers, plan electrical points, select suitable fixtures and coordinate everything with the ceiling and interior design.
A well-designed home lighting plan can improve comfort, highlight architectural details, make furniture and materials look better, and give you greater control over the atmosphere of every room.
Most importantly, do not treat lighting as the final decorative step. Plan it alongside the interior from the beginning.
When the lighting layout, electrical work, ceiling design and fixture selection are coordinated from the start, the finished home can look more balanced, functional and intentional.
FAQ:
1. When should lighting be planned during an interior project?
Lighting should ideally be planned before electrical wiring, false-ceiling work and major wall finishing are finalised. Early planning provides greater flexibility for positioning fixtures and switches.
2. Should I choose lights before furniture?
No. Furniture placement should be considered first because lighting needs to support the activities and zones created by the furniture layout.
3. How many types of lighting should a room have?
There is no fixed number. A practical room may combine ambient, task and accent lighting, while more detailed interiors can add architectural and decorative layers.
4. What colour temperature is best for a home?
Warm white around 2700K to 3000K is commonly suitable for living rooms, bedrooms and dining areas. Kitchens, offices and utility spaces may benefit from somewhat cooler light depending on the task and interior.
5. Is higher wattage always better?
No. Wattage measures electrical power consumption, not simply the amount of useful light. Compare lumens and other specifications when selecting LED fixtures.